Distilled water is produced by boiling water, condensing the vapor, and collecting the liquid. This process removes 99.9% of dissolved compounds, including minerals, impurities, and other contaminants.
There are a few different methods for distilling water at home. The given below is the easiest method and requires basic kitchenware that you likely already have.
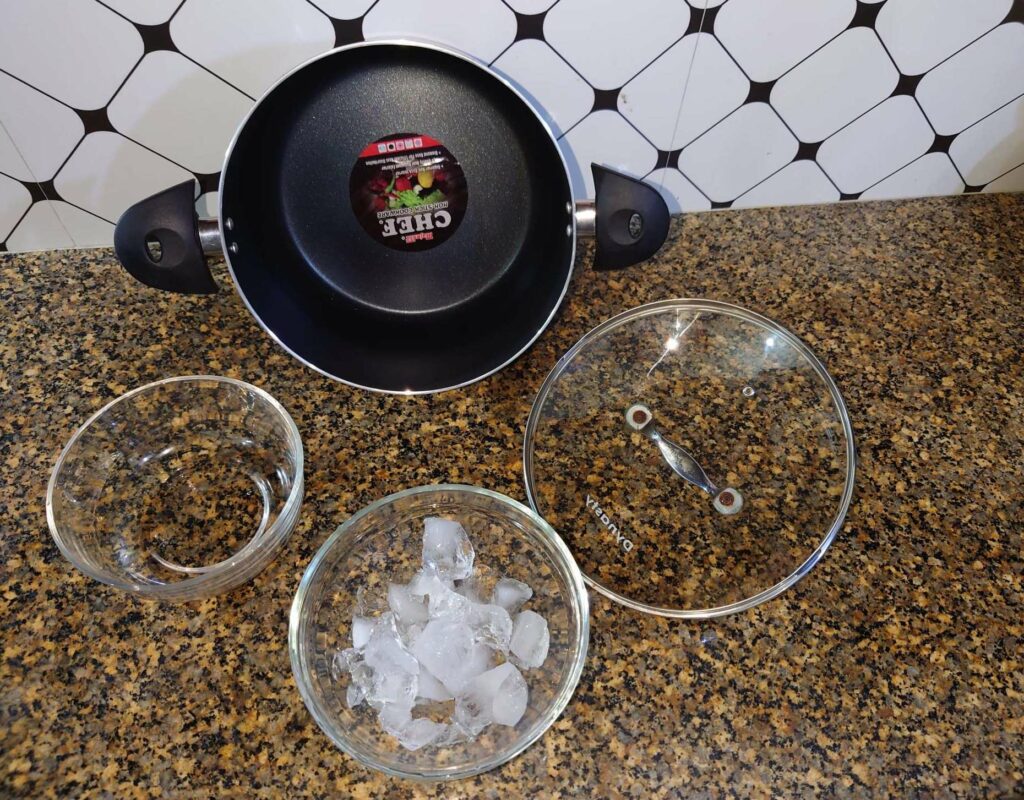
To make distilled water at home, you will need a deep pot, a glass bowl, a heat-resistant glass lid, ice, water, and a heat source such as a stove or burner.
These are the steps for making distilled water at home.
- Step 1: Prepare the Distillation Setup
- Step 2: Adjust the Heat
- Step 3: Position the Condensation Lid
- Step 4: Enhance Cooling with Ice
- Step 5: Monitor and Wait
- Step 6: Collect the Distilled Water
- Step 7: Repeat the Distillation Process for Larger Quantities
Total Time: 45 minutes
Step 1: Prepare the Distillation Setup
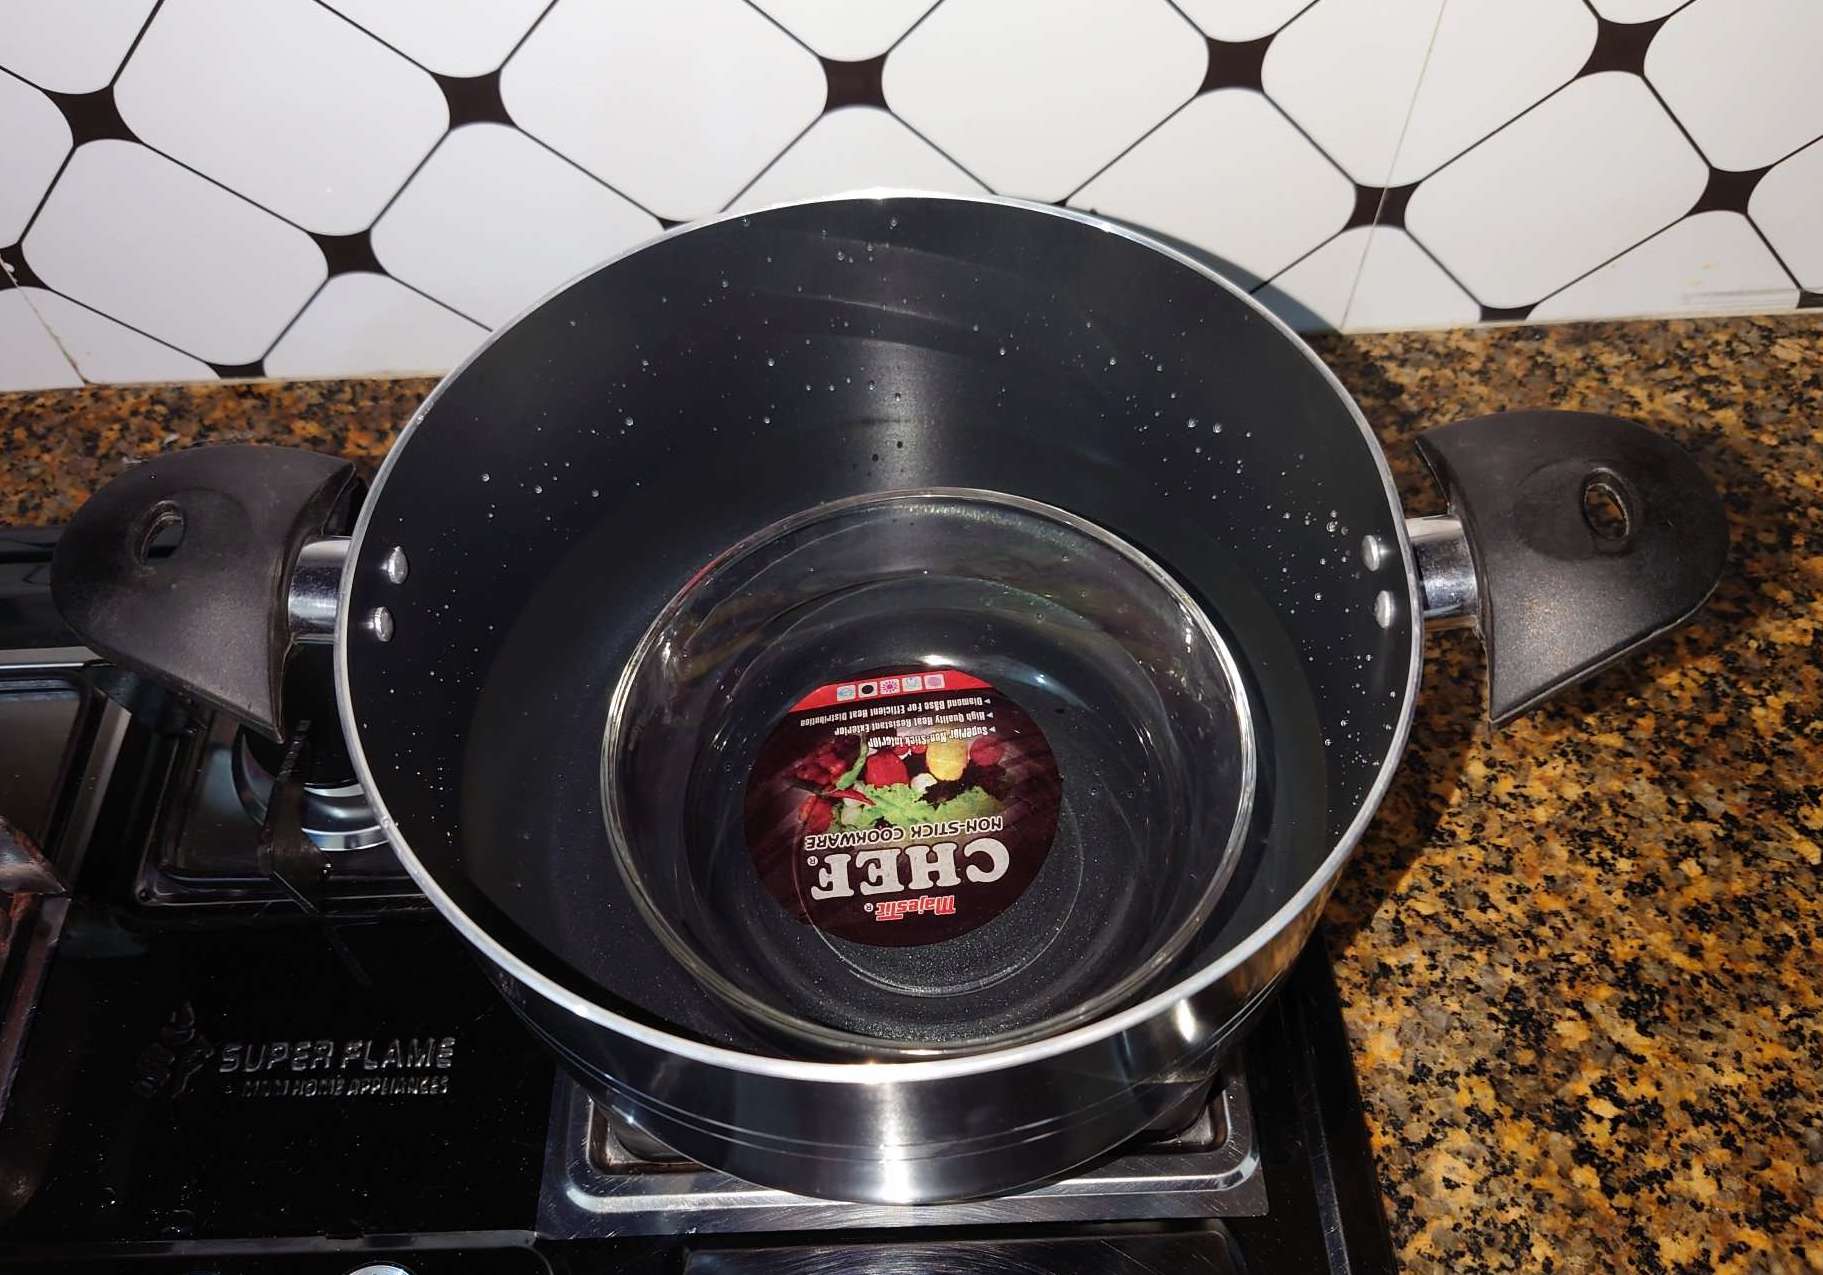
Place the deep pot on the stove or burner and add 1.5 times the amount of water than the desired quantity for distillation. Next, place the glass bowl into the deeper pot, ensuring that there is enough space for water vapour and air to circulate. Confirm that the glass bowl floats well, enabling you to pour a specific amount of distilled water without it sinking.
Step 2: Adjust the Heat
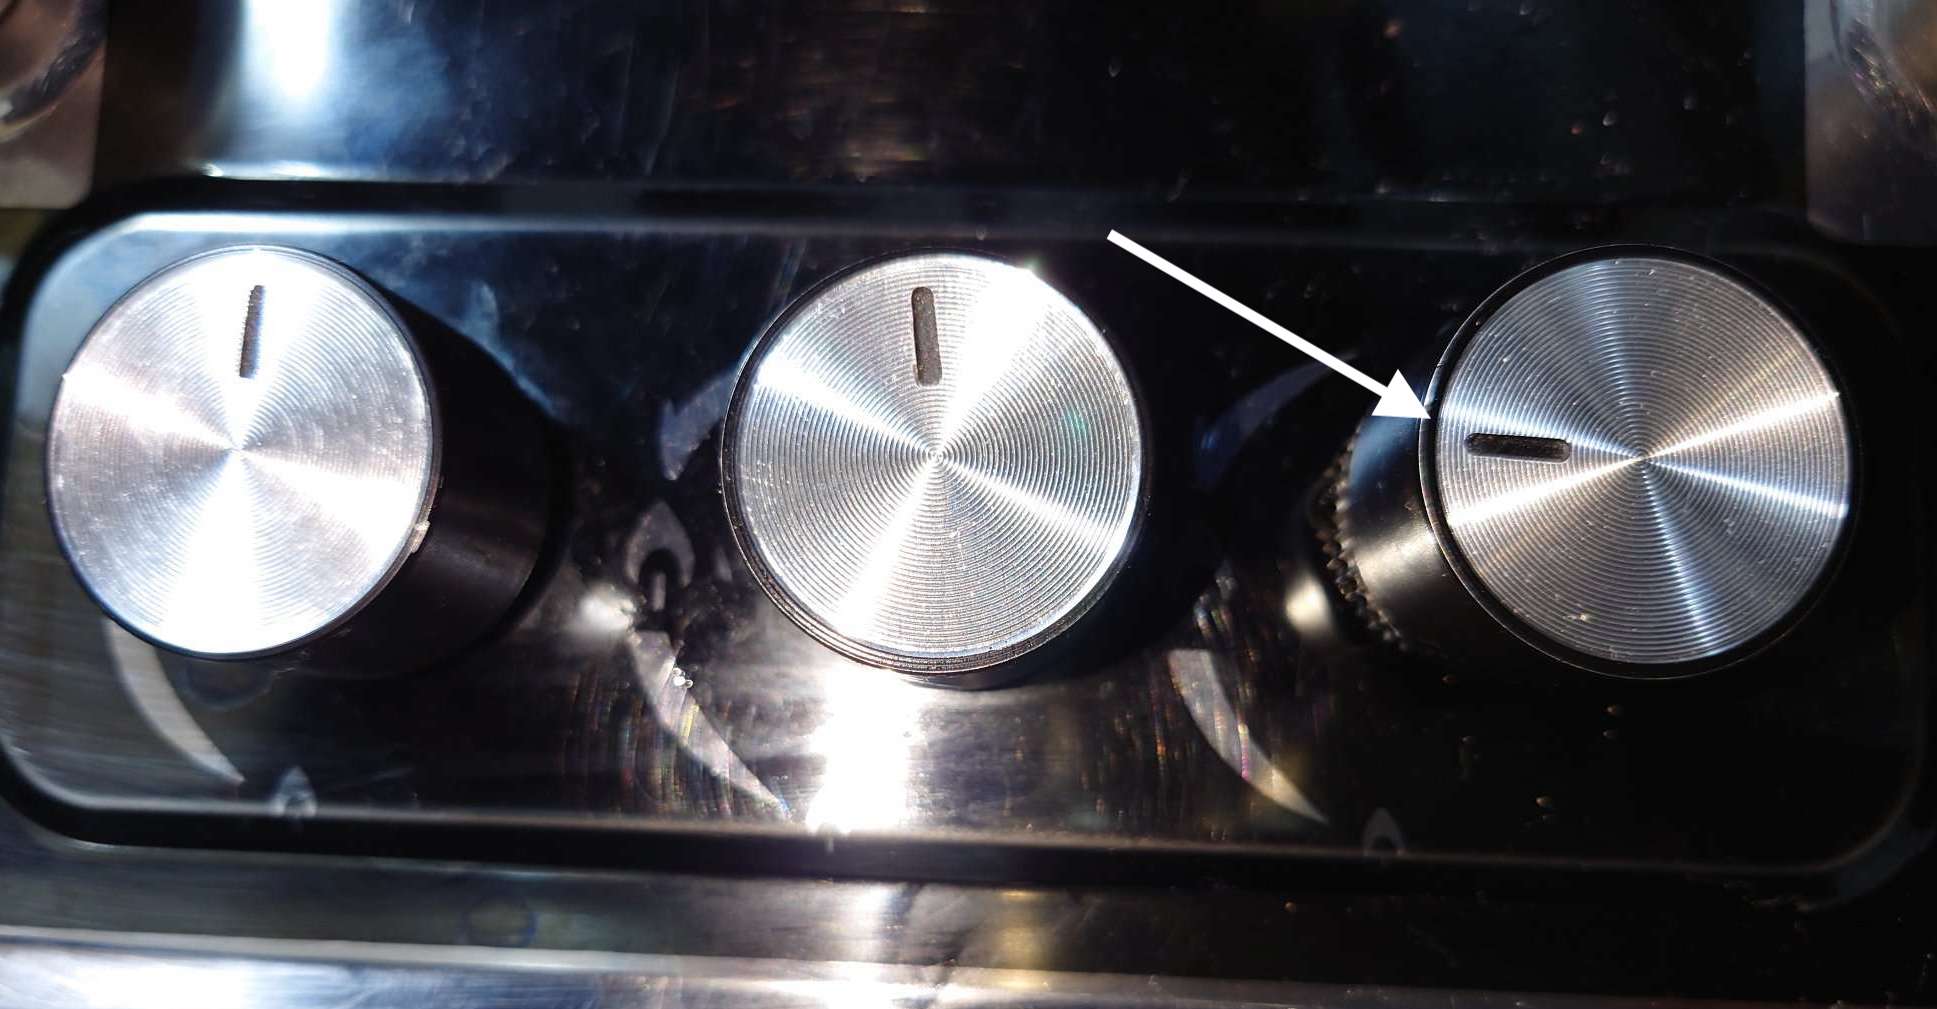
Turn the burner to medium-high heat to hit the boiling point of water (around 212°F or 100°C at sea level), being careful not to boil the water excessively. It's important to maintain a steady heat throughout the distillation process. Adjust the heat as needed, ensuring that the water remains close to its boiling point.
Step 3: Position the Condensation Lid
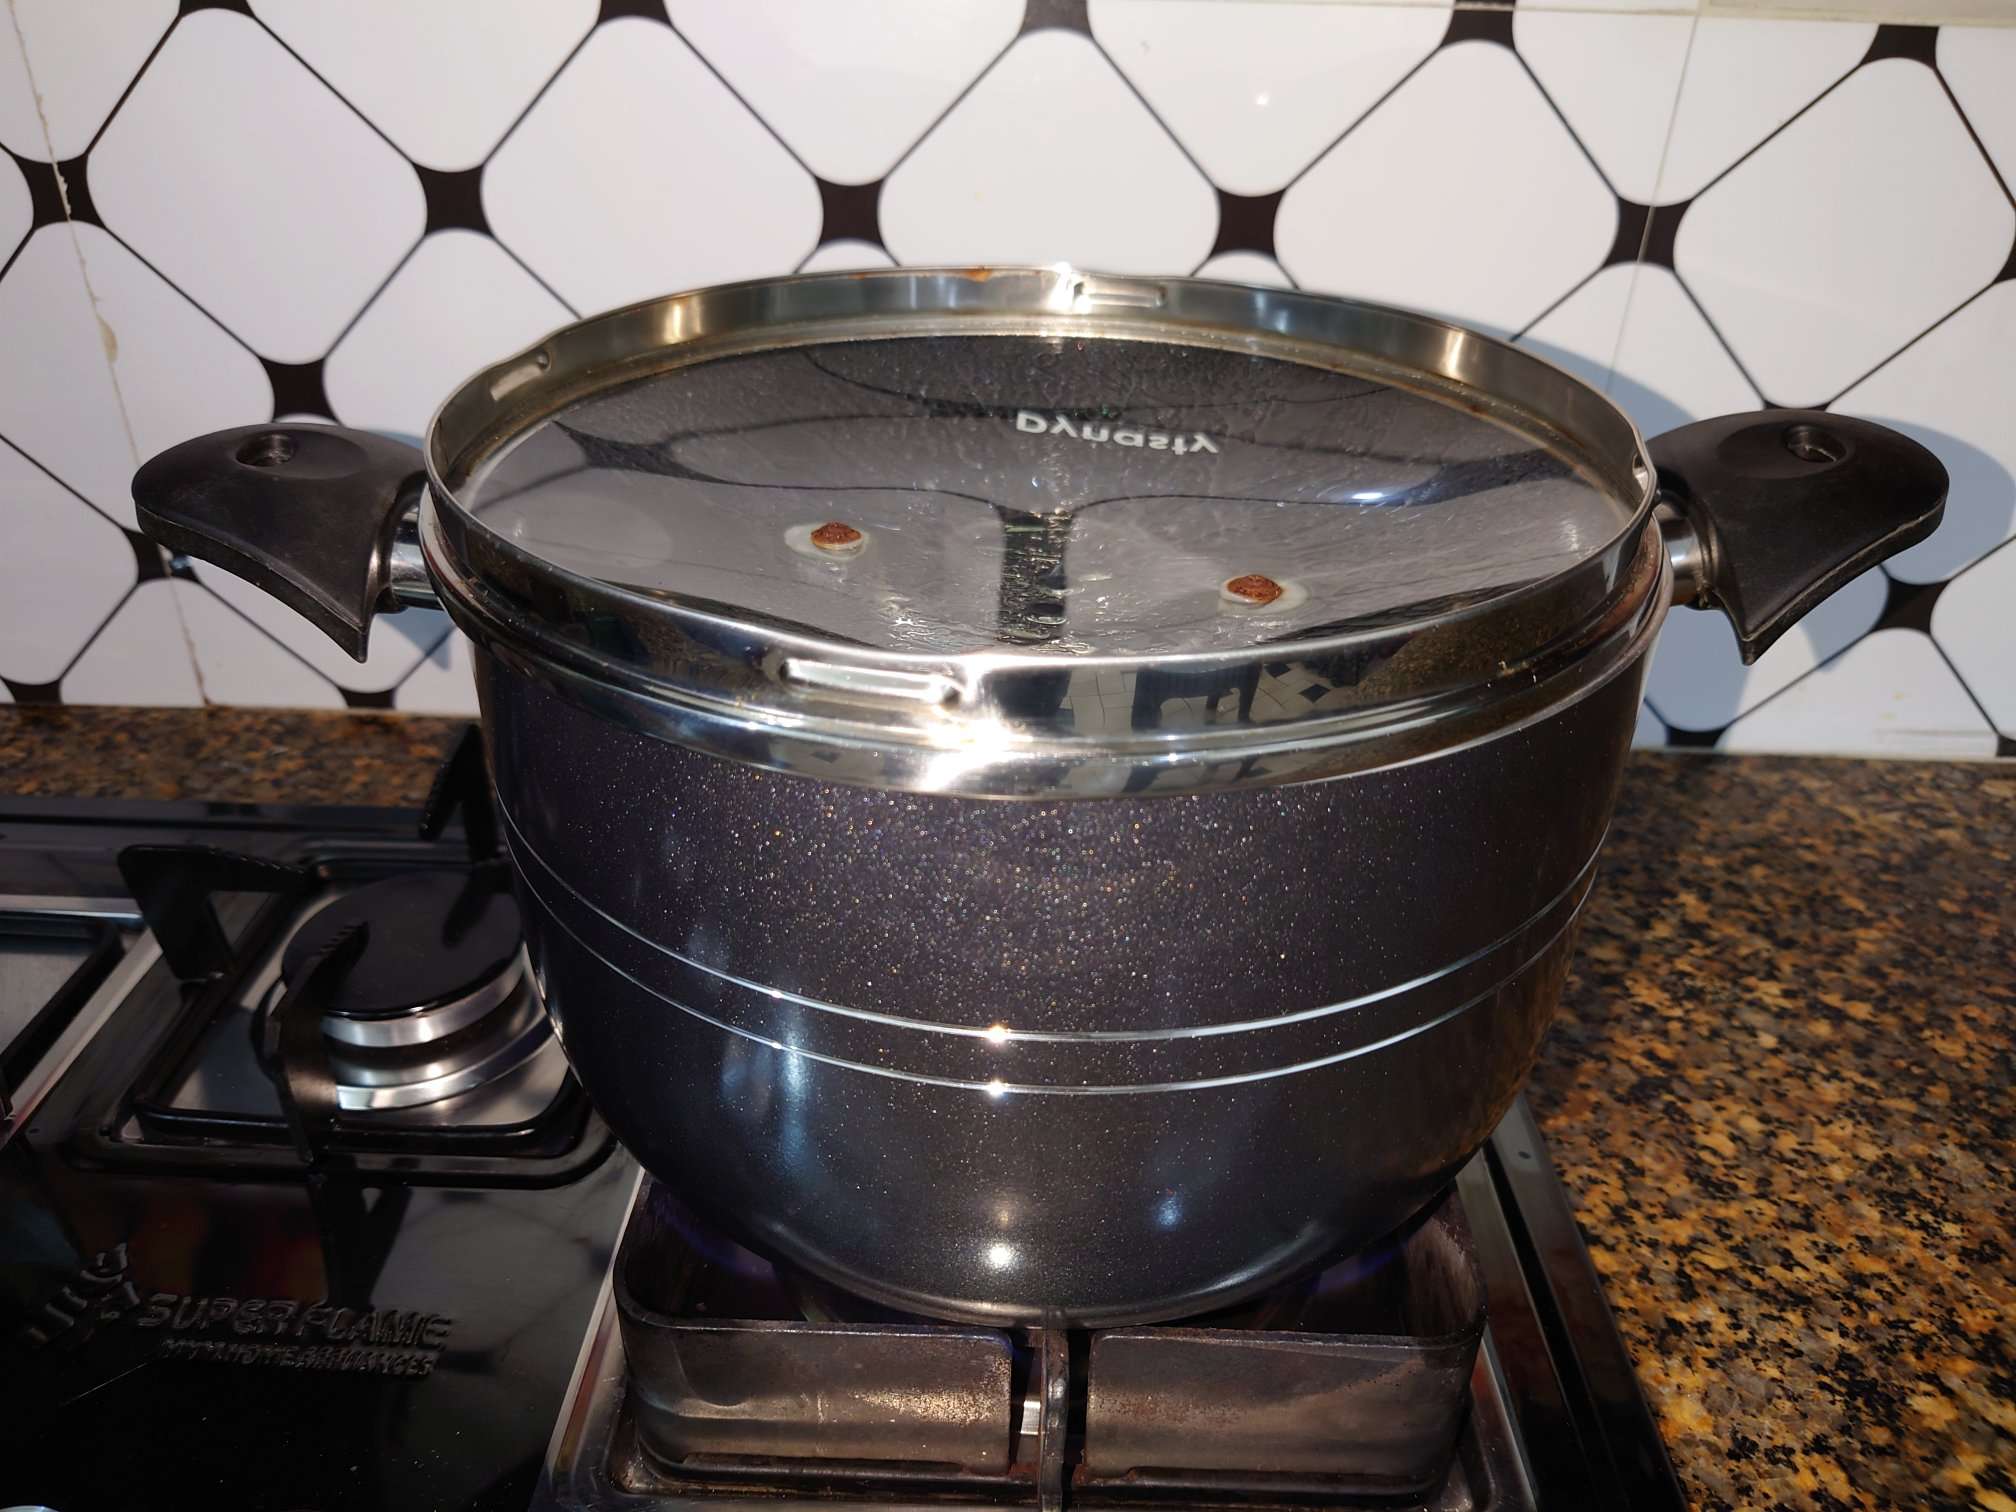
Once the burner is on, place the lid upside down on top of the larger pot. This arrangement allows water vapor to gather on the surface of the heat-resistant glass lid and trickle down into the glass bowl, promoting condensation.
Step 4: Enhance Cooling with Ice
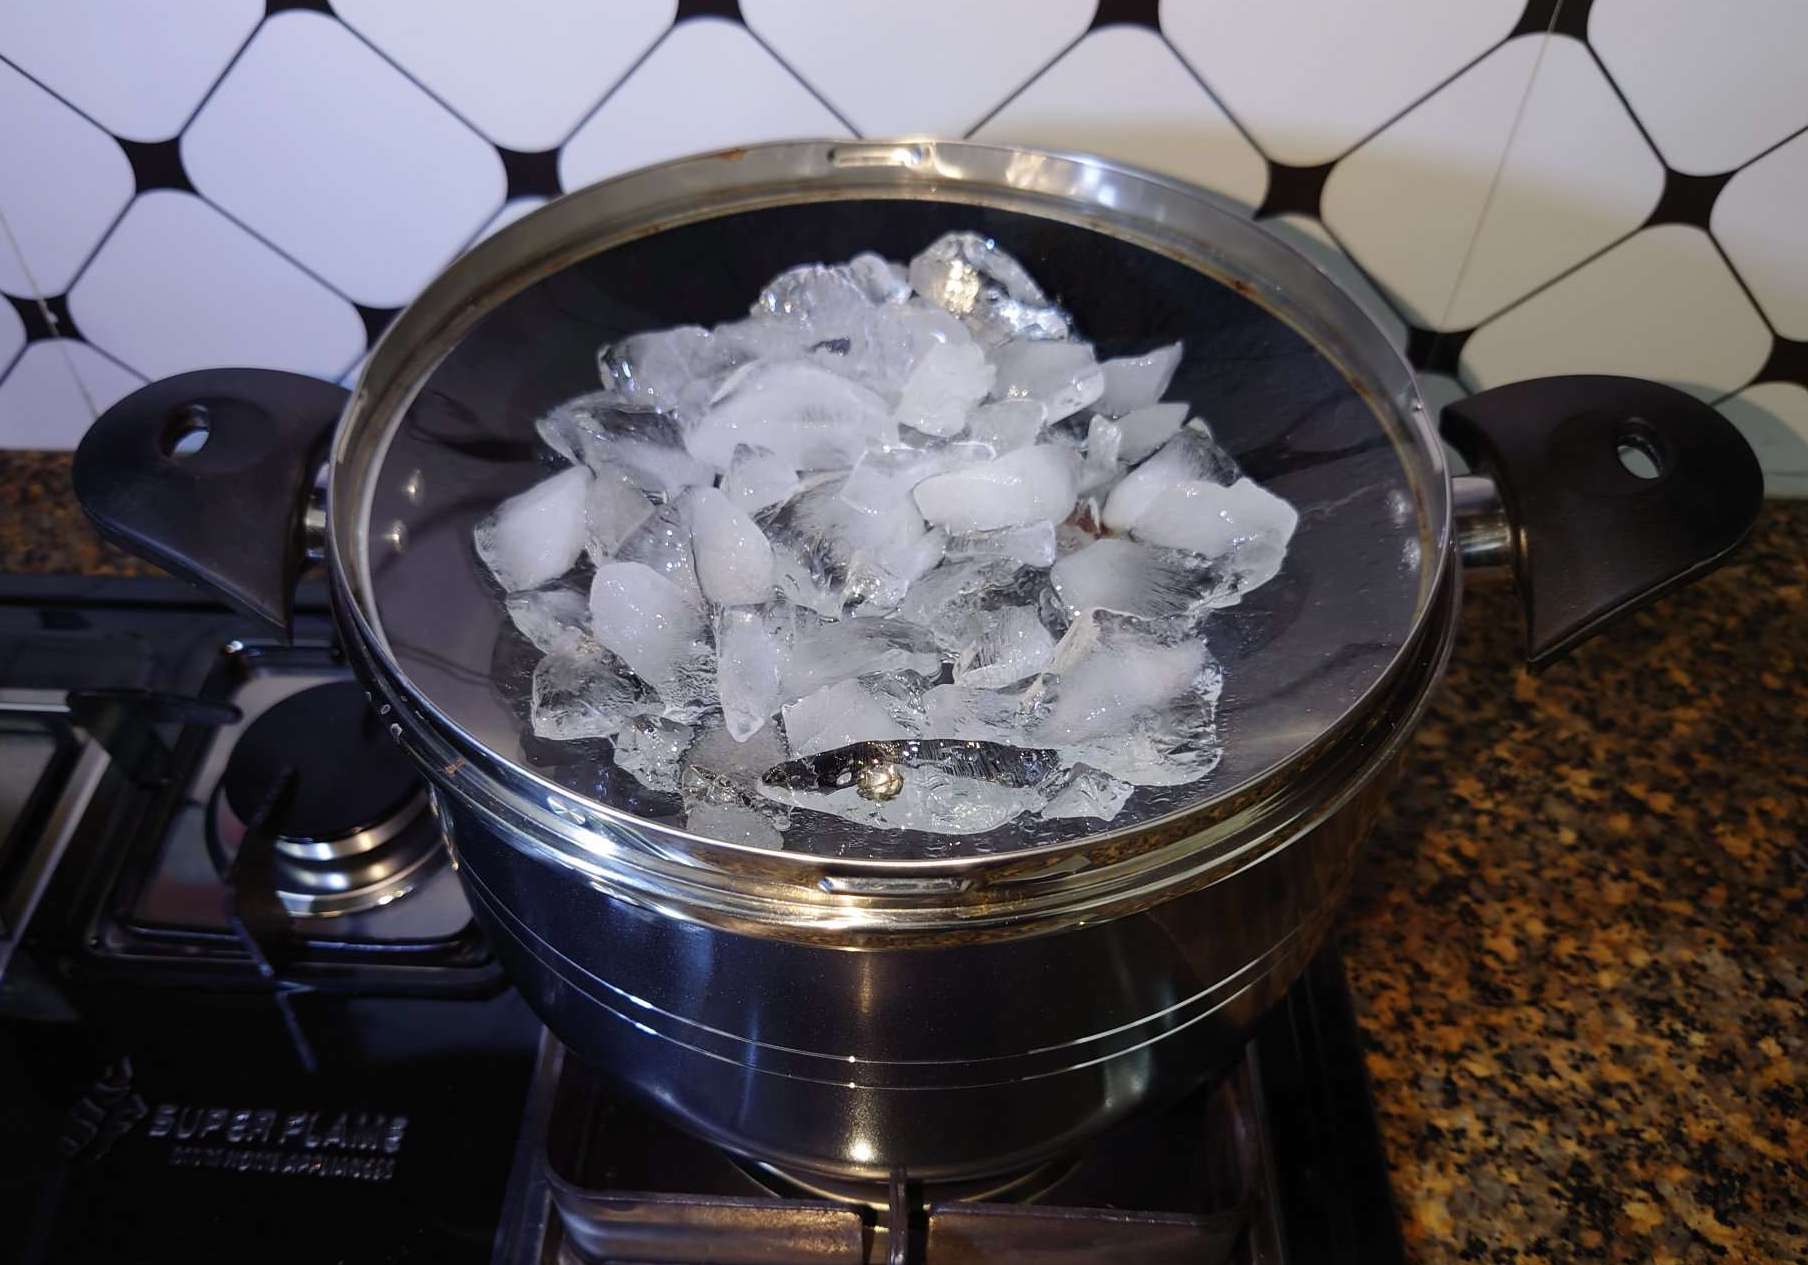
For faster distillation, add ice to the upside-down glass lid to enhance cooling. Using more ice will extend the cooling time, leading to improved condensation. While distilling water without ice is possible, it will result in a longer process compared to using ice.
Step 5: Monitor and Wait
Monitor the setup closely and exercise patience. Observe the process and add more ice if needed. Allow the setup to remain undisturbed for approximately 45 minutes to an hour or longer, ensuring sufficient time for the distillation process to take place.
Step 6: Collect the Distilled Water
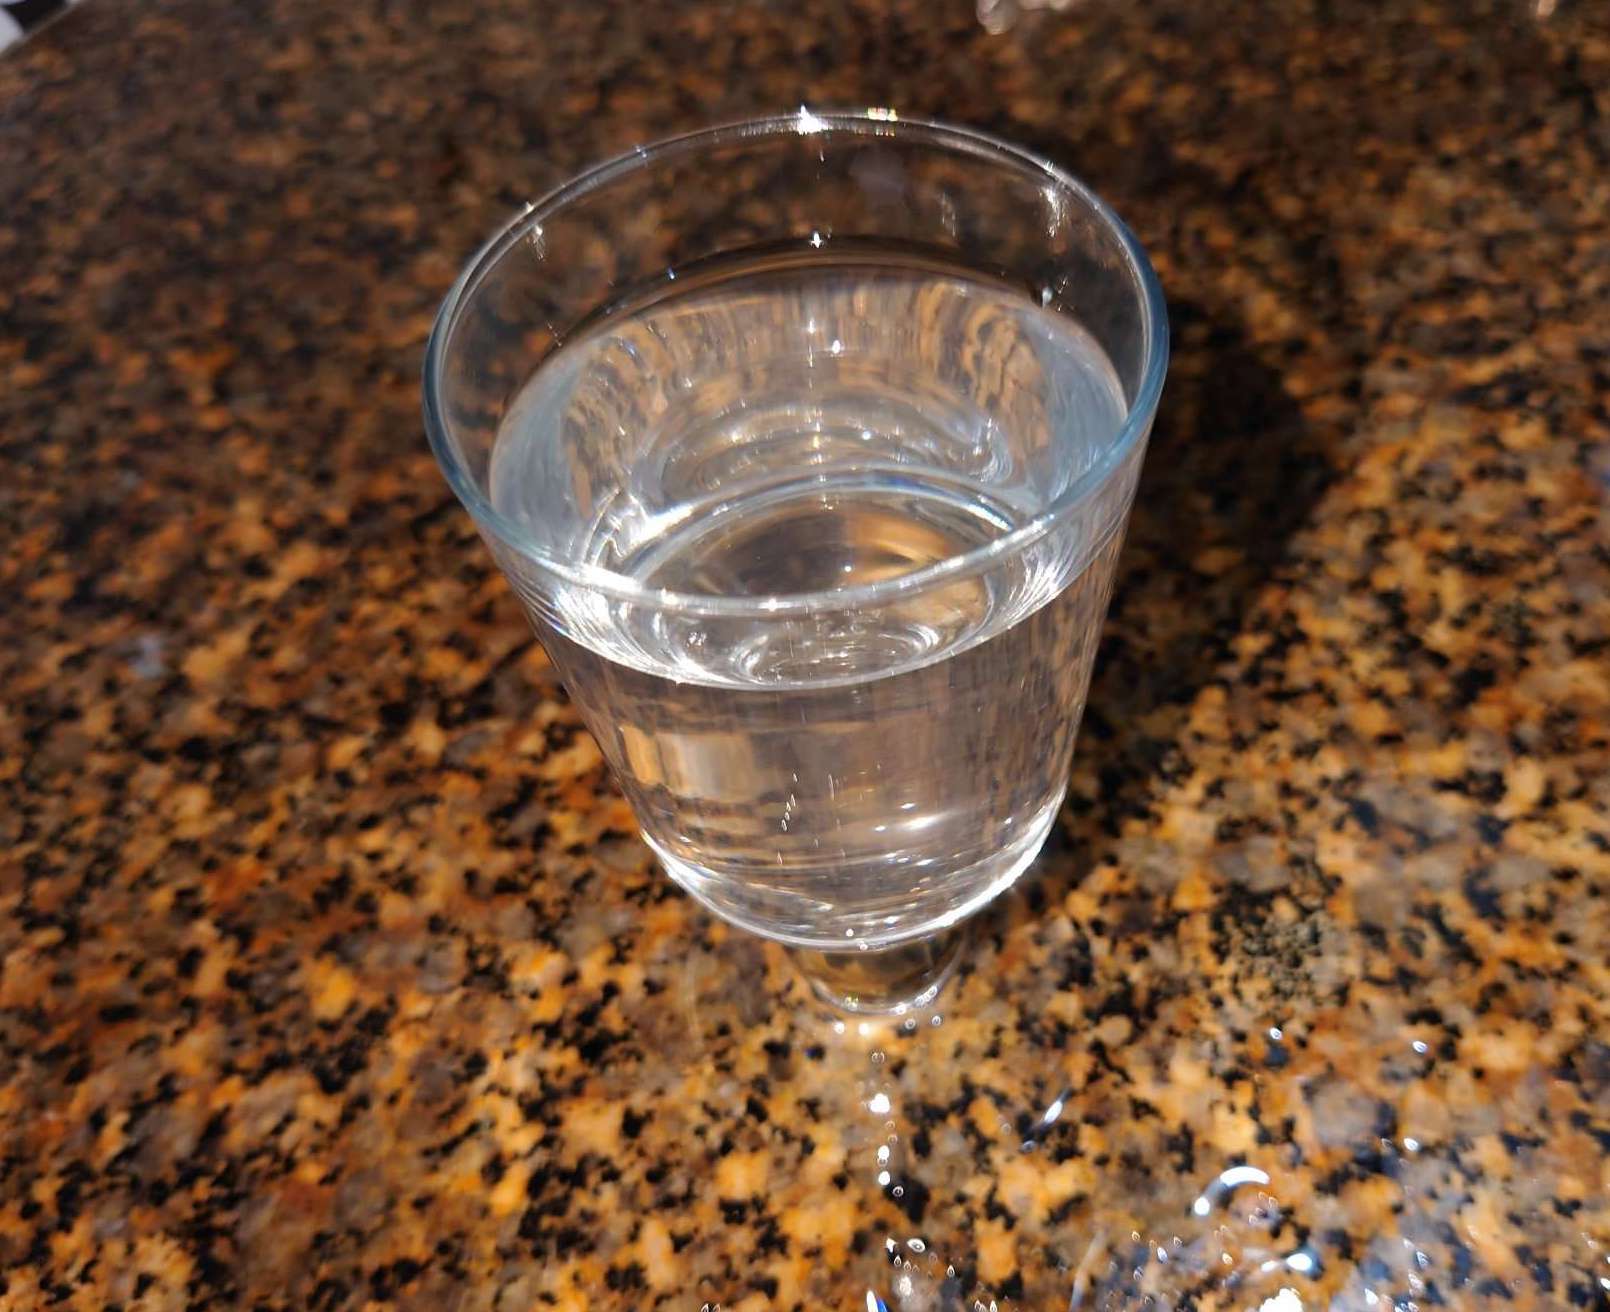
Once the waiting period is over, carefully collect the distilled water that has accumulated in the glass bowl. This water has undergone the distillation process, making it safe to consume regardless of its initial contamination.
Step 7: Repeat the Distillation Process for Larger Quantities (Optional)
If you require a larger quantity of homemade distilled water, you'll need to repeat the entire distillation process. Each repetition will yield additional distilled water.
Alternatively, you can consider using a dedicated water distillation system. These systems are designed for distillation and can provide a more consistent and quicker production of distilled water compared to DIY water distillation methods and can be left unattended.

The amount of distilled water can vary significantly based on factors such as the equipment used, heat source, and starting volume of water. Distillation is a slow process, and the exact yield per hour is difficult to determine due to these variables.
Let's assume you start with 1 gallon (128 ounces, or 16 cups) of water for distillation. With a slow rate of distillation, you can reasonably expect to produce approximately 1.25 cups (10 ounces) of distilled water per hour. This indicates that within 6 hours, you will obtain around 7.5 cups (60 ounces) of distilled water.
Is Distilled Water Safe to Drink?
Yes, distilled water is safe to drink. But it tastes flat or bland due to the absence of essential minerals like calcium, magnesium, and potassium that are typically found in natural water sources such as rivers, lakes, streams, springs, and groundwater. If you rely solely on distilled water and don't have access to other clean water sources, it's recommended to consider remineralizing your distilled water or taking mineral supplements to ensure your body receives the necessary minerals.
Additionally, if you’ve got a medical condition such as kidney disease (renal failure), digestive disorders, and lymphedema that necessitates consuming distilled water, it may be suitable for you.
Is it Safe to Cook with Distilled Water?
Yes, it's safe to cook with distilled water. Distilled water is free from impurities and contaminants, making it a suitable choice for cooking. Using distilled water in cooking can help maintain the purity of flavors and prevent the buildup of mineral deposits in kitchen appliances such as pots, pans, and other cooking utensils.
How to Store Distilled Water
Distilled water is typically stored in a clean and sealed container, away from direct sunlight and heat sources, in a cool and dry place. This will help to maintain its purity and minimize the chances of contamination.
For smaller quantities, you can use glass or BPA-free plastic bottle with lid or tight cap. However, when dealing with larger quantities, use larger containers or water storage jugs.
How to Calculate the Estimated Time or Water Required for Certain Amounts of Distilled Water
To calculate the approximate time or water required to obtain a desired amount of distilled water, you can use the following formula:
Desired amount of distilled water (in cups) / Yield per hour (in cups) = Time (in hours)
| Initial Water Amount (in gallons) | Desired Distilled Water Amount (in cups) | Approximately Time Required |
|---|---|---|
| 1 gallon | 10 cups | Approximately 8 hours |
| 2 gallons | 20 cups | Approximately 16 hours |
| 3 gallons | 30 cups | Approximately 24 hours |
| 5 gallons | 50 cups | Approximately 40 hours |
| 10 gallons | 100 cups | Approximately 80 hours |
What are the Applications of Distilled Water?
Distilled water is used in a variety of applications, including:
- Medical laboratories: Distilled water is essential for laboratory experiments and sterile preparations. It’s also used to maintain equipment, such as autoclaves, glassware, and centrifuges.
- Cosmetics: Distilled water is used in skin care products because it helps to improve their effectiveness and promote skin health.
- Wellness: Distilled water is used in humidifiers and continuous positive airway pressure (CPAP) machines to help manage sleep apnea.
- Plant growth: Distilled water ensures that plants have the water they need to grow without any contaminants that could stunt their growth or harm their health.
- Aquarium ecosystems: Distilled water is used to fill aquariums and to make water changes. It’s also used to make aquarium salt solutions that provide essential minerals for fish and plants.
- Automobiles: Distilled water is used in automobile cooling systems because it’s free of impurities that can clog the system and cause it to overheat.
By mastering the distillation process at home, you gain the ability to meet these diverse needs with confidence and effectiveness.
Frequently Asked Questions About Distilled Water
What is Distilled Water?
Distilled water is water that has undergone a process called distillation, by heating it to its boiling point and then condensing the steam. It’s the cleanest form of water, with little to no mineral content and free from impurities, microorganisms, heavy metals, and other contaminants.
How Long Does it Take to Make Distilled Water?
Generally, it takes about 45 minutes to distill 4 cups of water from 6 cups of initial water. This is because about 20% of the water is lost during the distillation process due to evaporation.
Can You Make Distilled Water in a Microwave?
No, you can’t make distilled water in a microwave. Because a microwave doesn’t boil water in the same way that a stove or burner does, so it doesn’t produce steam. This means, the impurities in the water won’t be removed, and you will end up with hot water, full of impurities.
What is the Difference Between Distilled Water and Tap Water?
The main difference between distilled water and tap water is in their mineral content. Distilled water is purified through distillation, which removes minerals and other contaminants. In contrast, tap water comes from various sources such as lakes, rivers, and groundwater, and may contain minerals, additives, and traces of pollutants.
Is Boiled Water Distilled Water?
No, boiled water is not the same as distilled water. Distilled water is the purest form of water that has been boiled and then the steam condensed back into liquid form. Boiled water, on the other hand, is simply water that has been heated to its boiling point and then cooled down. Boiling water doesn’t remove any impurities from the water.
What are the Alternatives to Distilled Water?
There are four main alternatives to distilled water:
Filtered water: This type of water has been passed through a filter or filtration process to remove some or specific impurities. While filtered water isn’t as pure as distilled water, it’s still a good option for drinking and cooking.
Spring water: This type of water comes from a natural spring and is typically high in minerals such as calcium, magnesium, potassium, sodium, and fluoride which can be beneficial for overall health.
Mineral water: As the name indicates, this type of water has been artificially infused with minerals. It’s a good source of minerals, but the amount of minerals in mineral water can vary depending on the source of the water.
Reverse osmosis water: This type of water has been passed through a semi-permeable membrane to remove unwanted molecules and substances. It’s a good choice for people who are looking for the purest possible water, but it lacks beneficial minerals.